sssssuss(t)udio
By Peter Clark
I recently outgrew my office and since I work from home, having an office is very important to me — I decided to build a studio office in my yard. (since I had ran out of other rooms)
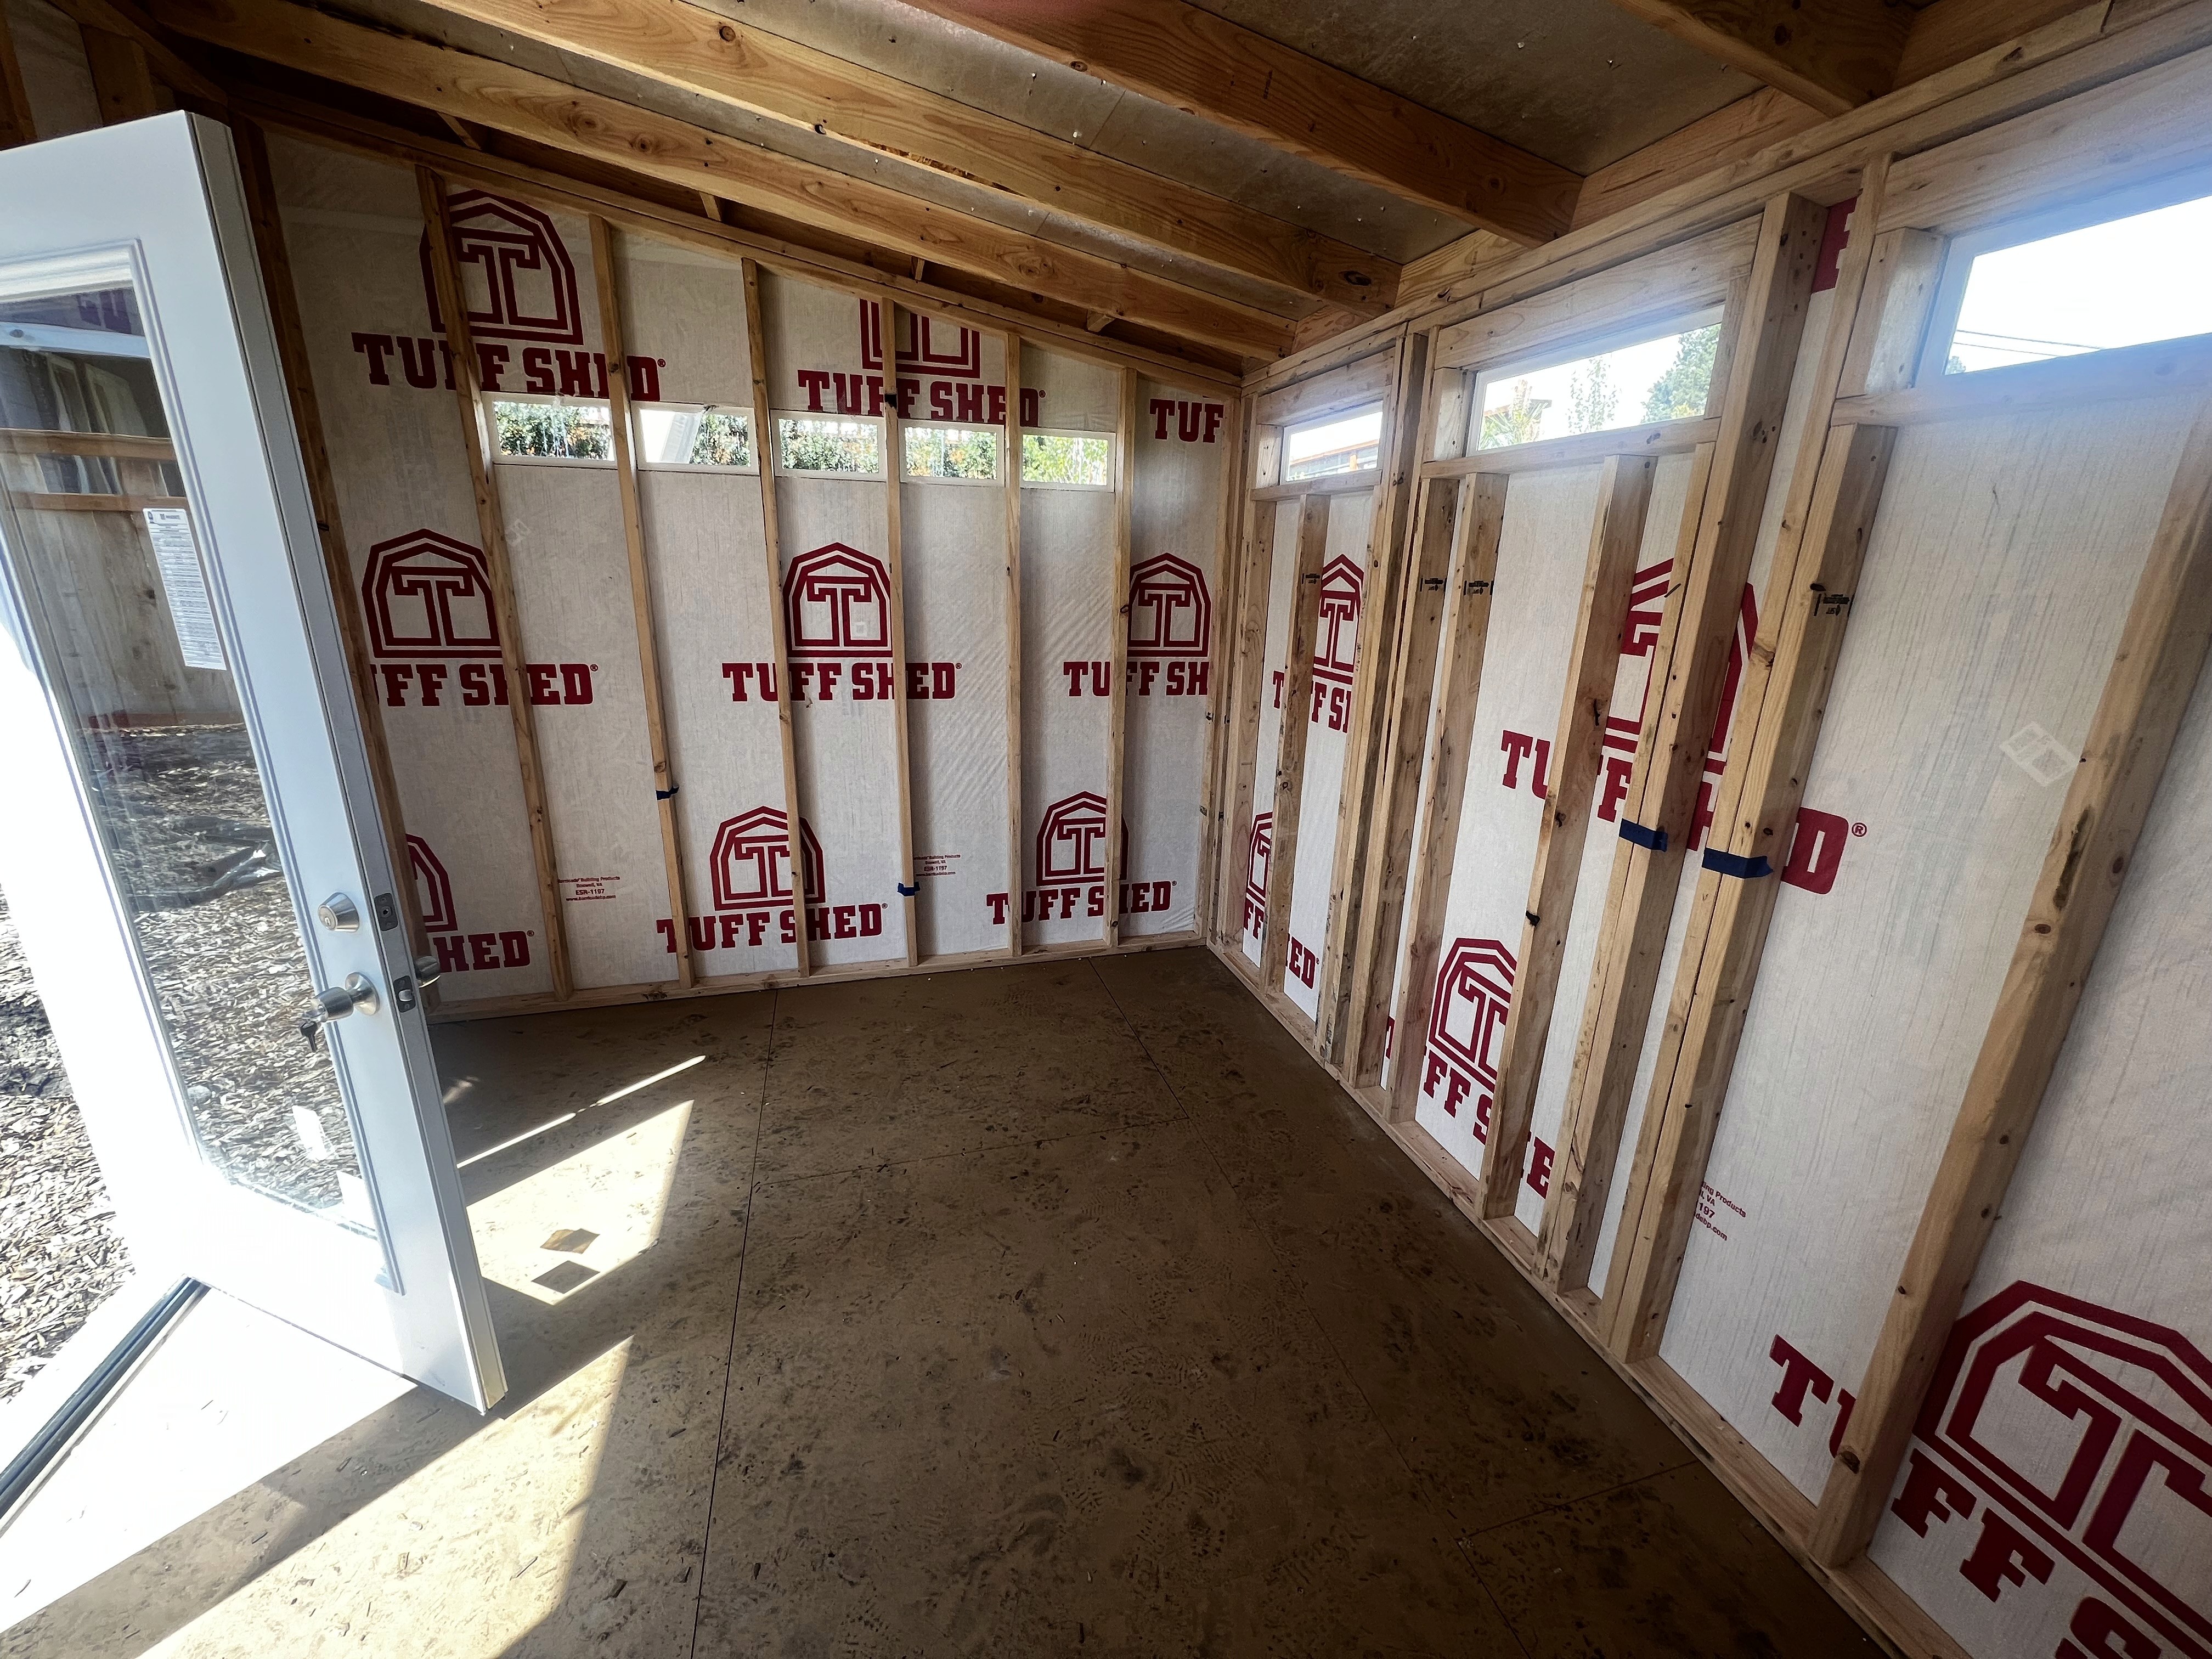
I bought a 12x10 modern studio from Tuff Shed and they were able to install it in a matter of weeks. These sheds are approx $12k which seems fairly reasonable for an entire room, but are not "finished" — they had no electricity or insulation, not even walls. (they do have windows and doors!)
Electrical
I had an electrical contractor spend a few days running electricity to the studio. He installed a 60amp sub panel in the studio and then ran separate circuits for:
Lights (overhead and exterior)
Outlets
Air Conditioner outlet
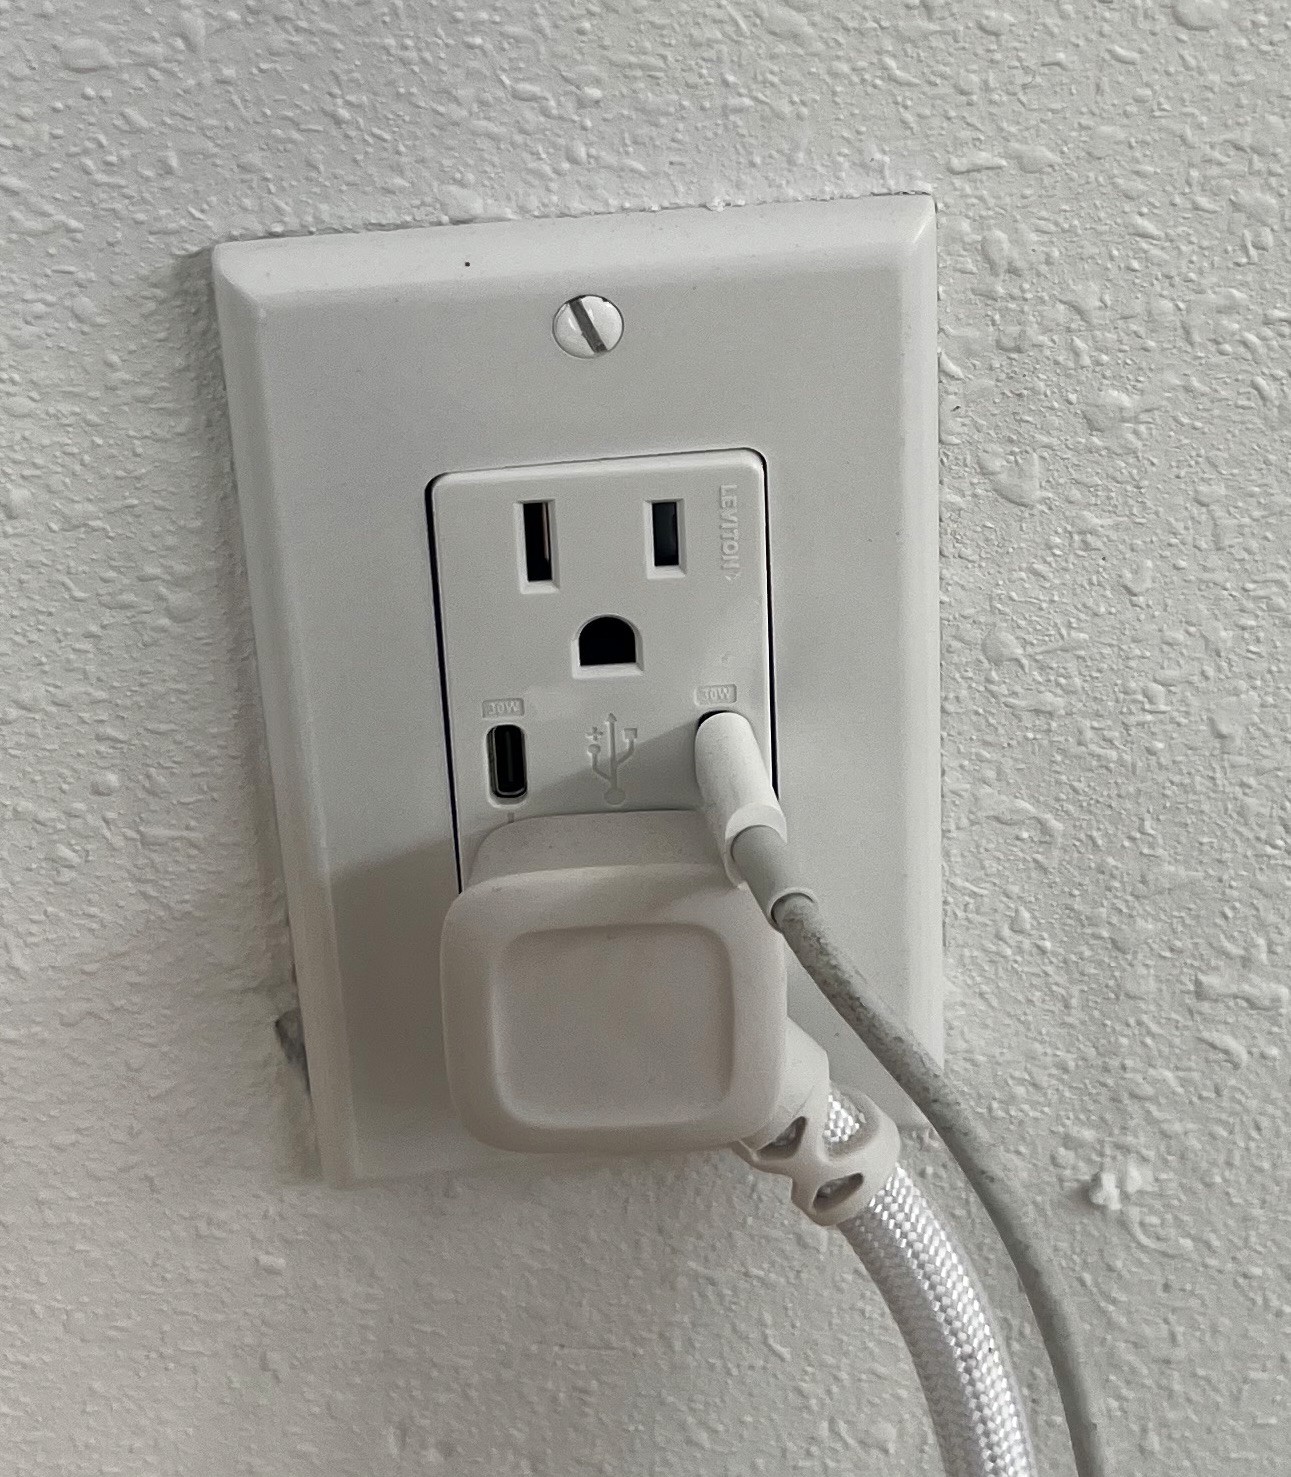
I have always loved the idea of having fancy outlets — ones with USB-C chargers in them — and while they're easy to swap out, I was delighted to be able to start from day 1 with all outlets being ones with USB-C. These are particularly impressive outlets as they support Power Delivery, so you can actually charge your MacBook or iPhone at a very fast rate.
Similarly for the light switches, I used Lutron Caseta — which are what I use almost everywhere else (again, a matter of swapping out almost new dumb switches for these fancy switches, such a waste!)
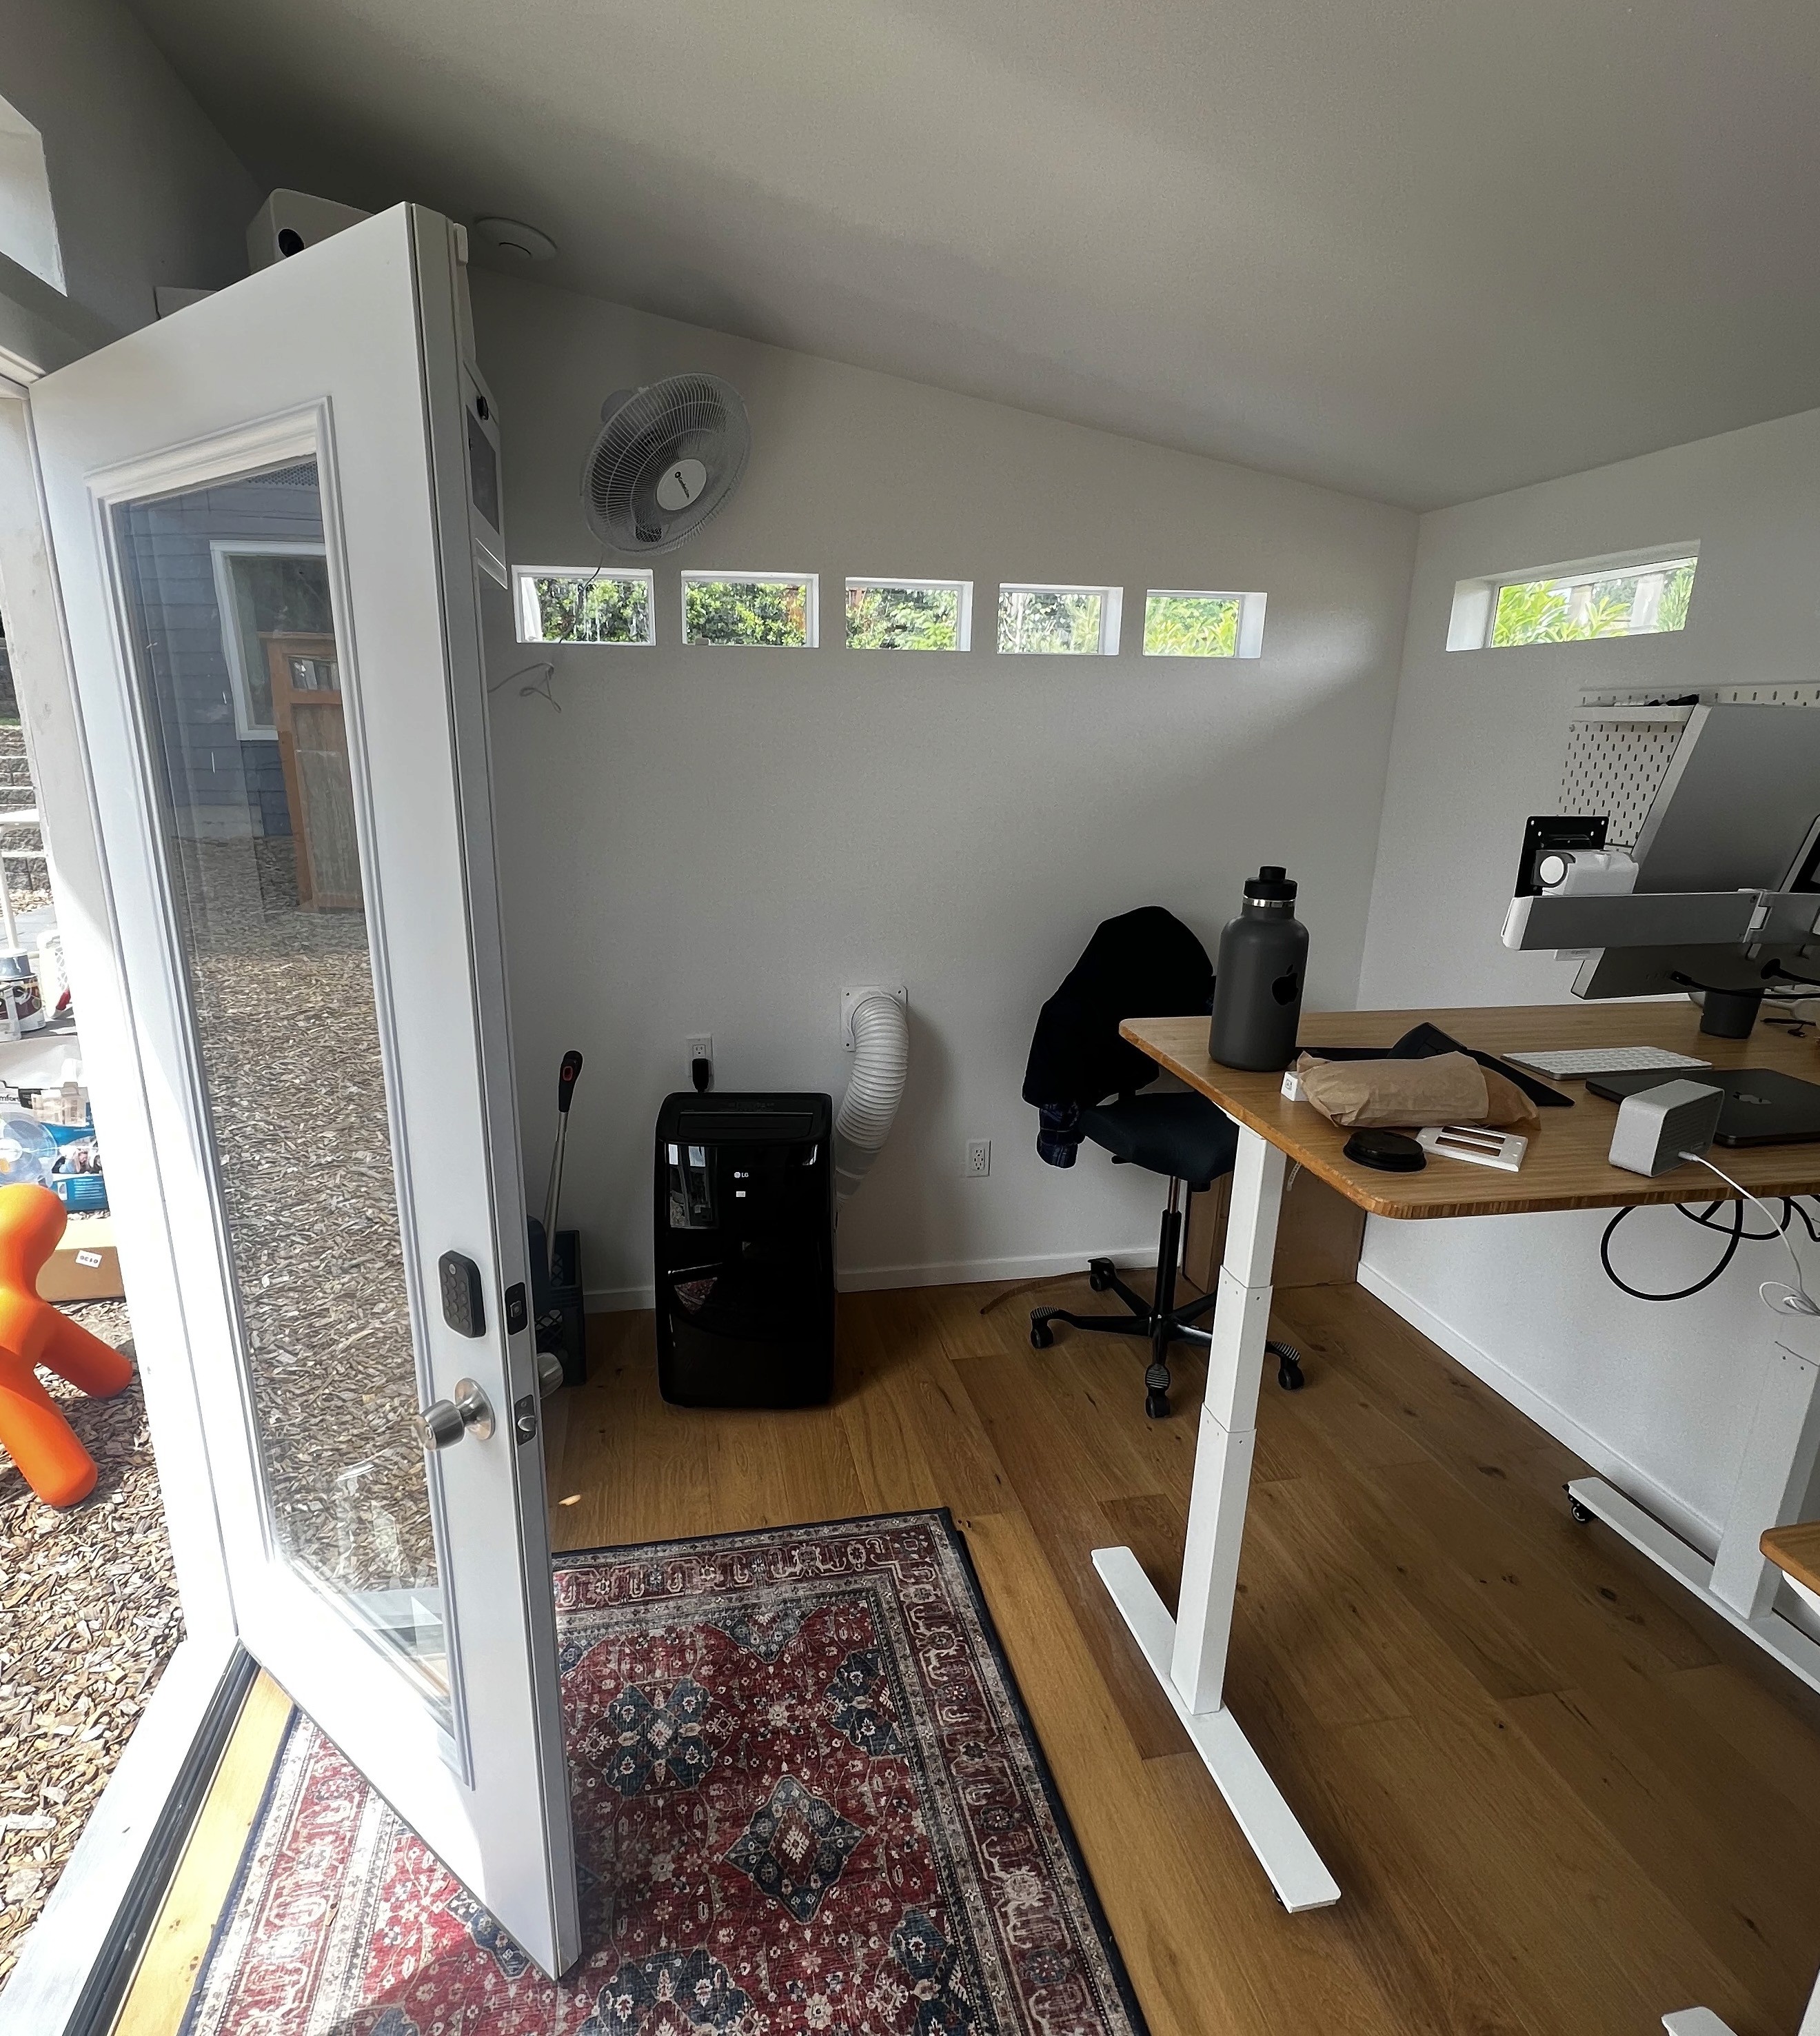
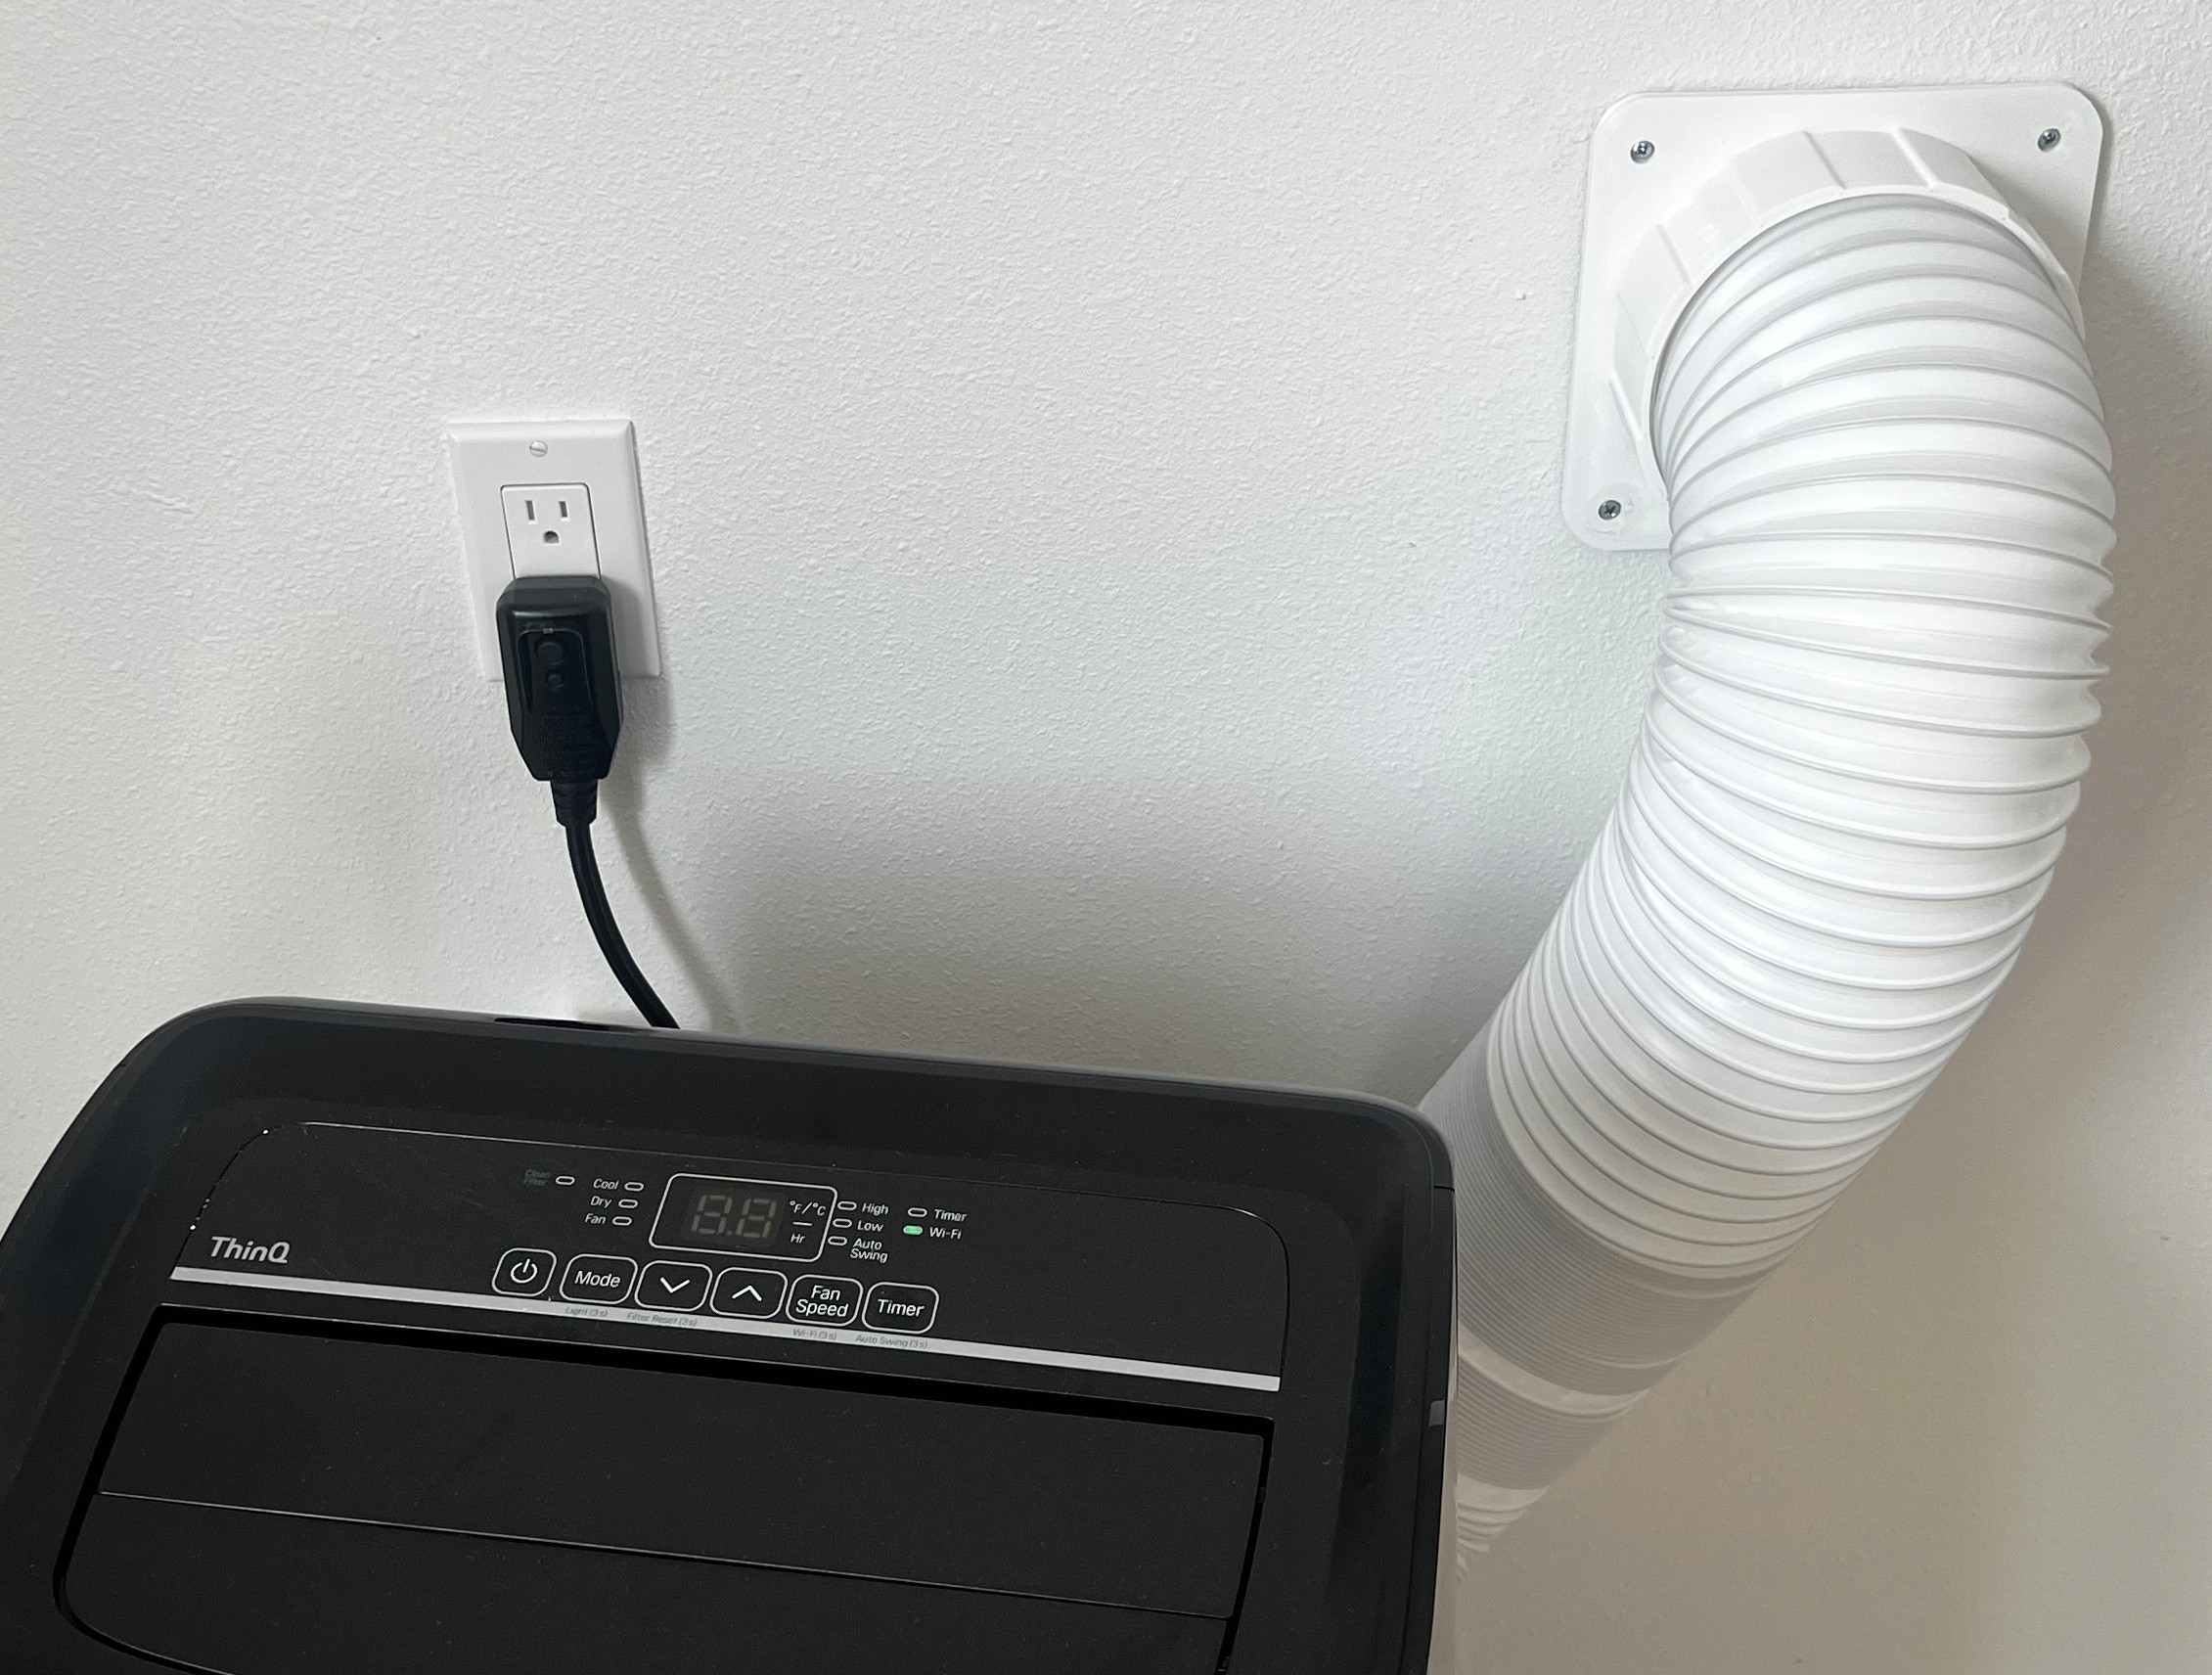
Given the studio is only 120sq feet, it seemed incredibly excessive and expensive to have a legitimate mini split installed — it would have cost a meaningful percentage of the studio build, probably in excessive of $3k — so I opted instead to buy a portable unit.
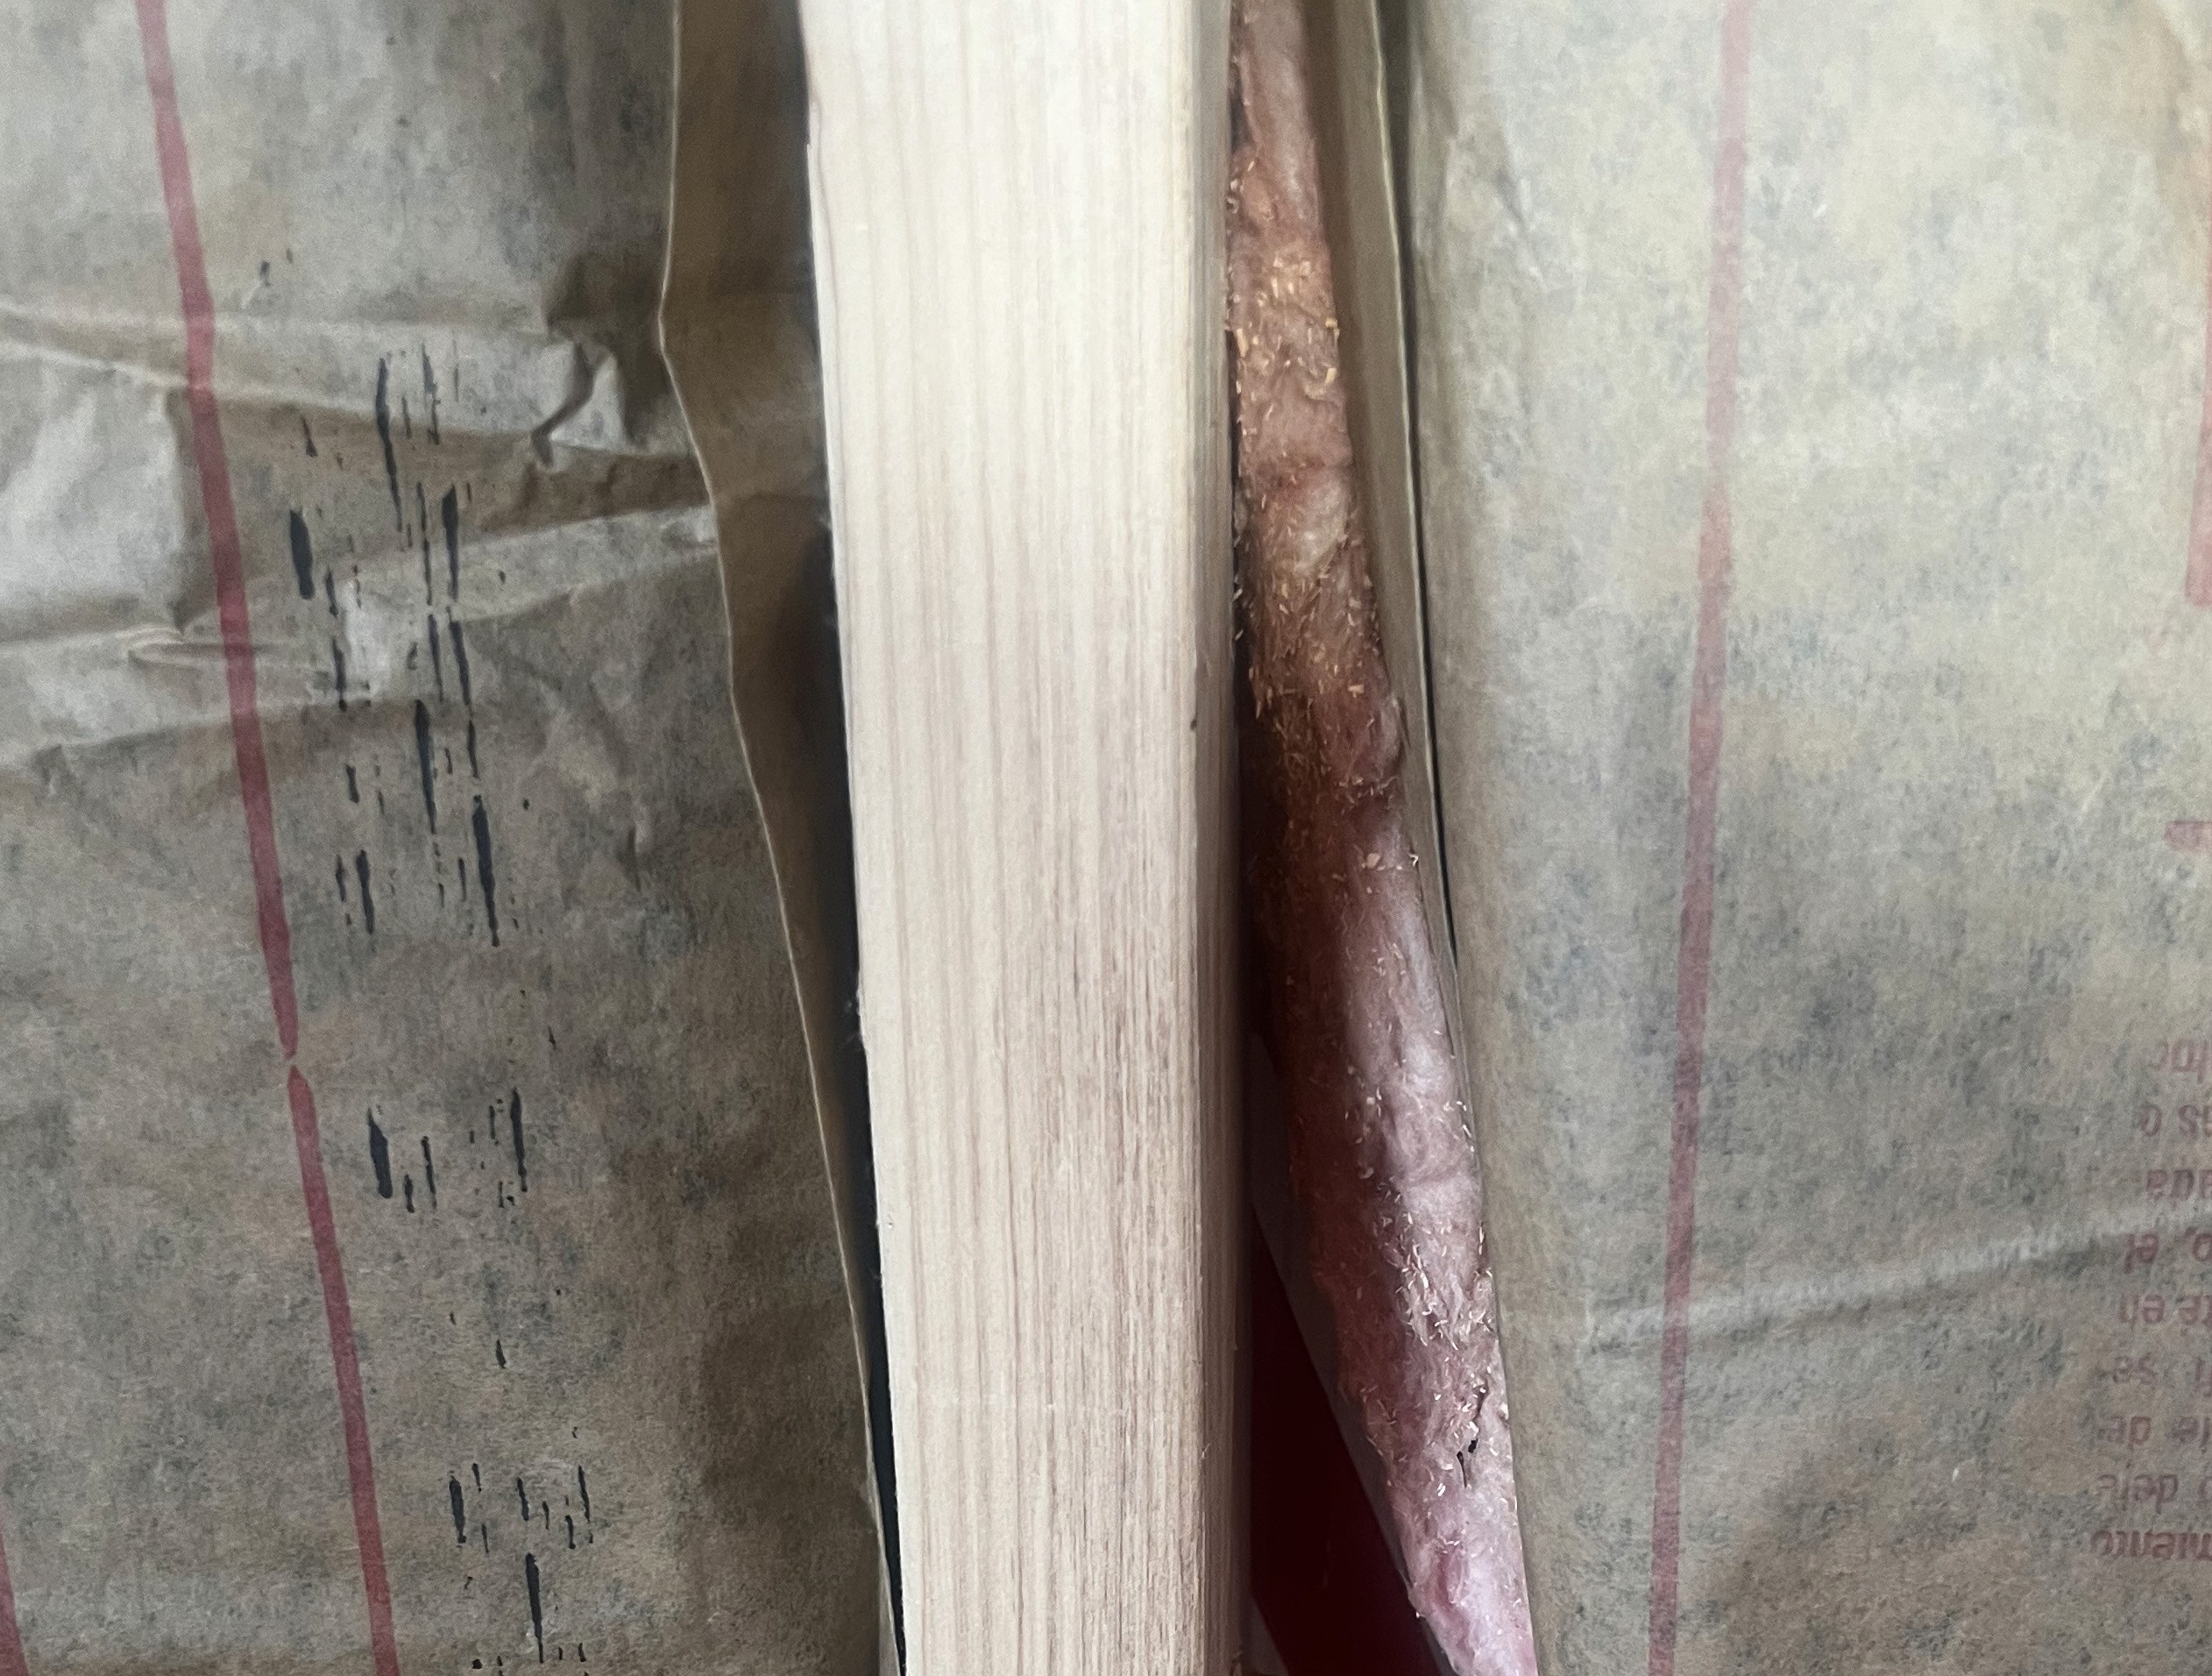
Because I wanted the studio to have a ton of ambient indirect lighting, I opted for no large openable windows and instead surround smaller windows. It means the room gets awesome light but unfortunately means there is no way to use either a window unit or a vent a portable unit. In hindsight, I probably would have installed one openable window to solve this.
Instead, I simply drilled a 6" hole through the wall, connected a vent on the exterior and somewhat crazily, someone on etsy sold 3d printed wall vent connectors that you can use to connect a portable AC unit through the wall.
Drywall & Insulation
Next, I had a contractor install insulation and drywall. This was fairly straightforward but probably not a job you'll do yourself unless you have experience — it's exhausting and messy work! I also had the walls taped (to hide seams) and mudded and painted.
One thing I didn't realize was that you had to drywall around windows, and I had a lot of little windows, this added to the cost and time. In hindsight instead of having so many little windows, I could have gotten the larger windows and saved some money. (the little windows have slightly more cumulative window than the larger ones)
Data & Networking

I wanted to continue my vision of having a comically excessive home network, so I had fiber ran from my home network rack into my studio. I had my friends at Hi-Tek do this for me.
I was then able to use SFP connectors to join my home network rack to my studio rack. I have a Unifi 48-Pro-POE in my main rack and my studio has a Unifi 28-Pro-POE (which was my main switch before.)
The reason I had to use the Pro switches was because of the SFP. The distance between racks is over 300 feet, so it's too long for ethernet. I believe there are cheaper switches with SFP but I wanted the option for 10GE Fiber since I run a lot of cameras and didn't want to be bandwidth constrained.
Inside of the studio I installed a simple (white!) networking rack, a small UPS, and a patch panel. I had 4 runs of Cat6 ethernet ran to where my desks would be, and a single run ran to the ceiling for a Unifi NanoHD Wifi hotspot.
I ran these cables in conduit, so that in the future I can swap out the cables or whatever if required, but hopefully its never used.
Ventilation
At this point, the studio was painted and cheap laminate flooring installed, and voila — the studio was done!
… Except I had neglected to think about ventilation. In fact, I had thought about ventilation and thought simply installing two 6" vents on either side of the studio would be sufficient. I actually thought this would be too much ventilation.
But it turns out humans emit a lot of CO2, and the CO2 levels in the studio became stuffy remarkably fast. I first attempted to fix this with a wall fan — simply circulate the air — but it didn't make any impact. I then attempted to fix it by installing a 6" extractor over the existing 6" vent.
This moved 142 CFM of air so in theory should be sufficient, but I think even this is unable to move sufficient air when humans are emitting CO2 (which is always, obviously) — and because the fan (pushing air around) was next to the extractor (pushing air out) I think the two counteracted each other slightly.
At this point I was a little stumped, it turns out this is a fundamental problem for small enclosed rooms. It's hard to introduce similar ventilation to that of either a large house or a wide open door.
I decided to the install a big boy 8" extractor fan. This really pulls air, and I've found placing it on a timer switch and cracking the door lets the air circulate super fast. I've found that when CO2 levels are over 1500, if you turn the fan on for 20 minutes and crack the door it'll totally exhaust the CO2 (presumably by recirculating the air entirely.)
It also has a secondary benefit of acting as a whole studio fan — when the studio is warmer than the air outside, you can use it to vent the air and pull in cooler air.
Wrap up
Ventilation aside, I am really impressed with this project. The studio is a delightful space that makes me feel productive. It's nice to both be working from home but also not quite at home.